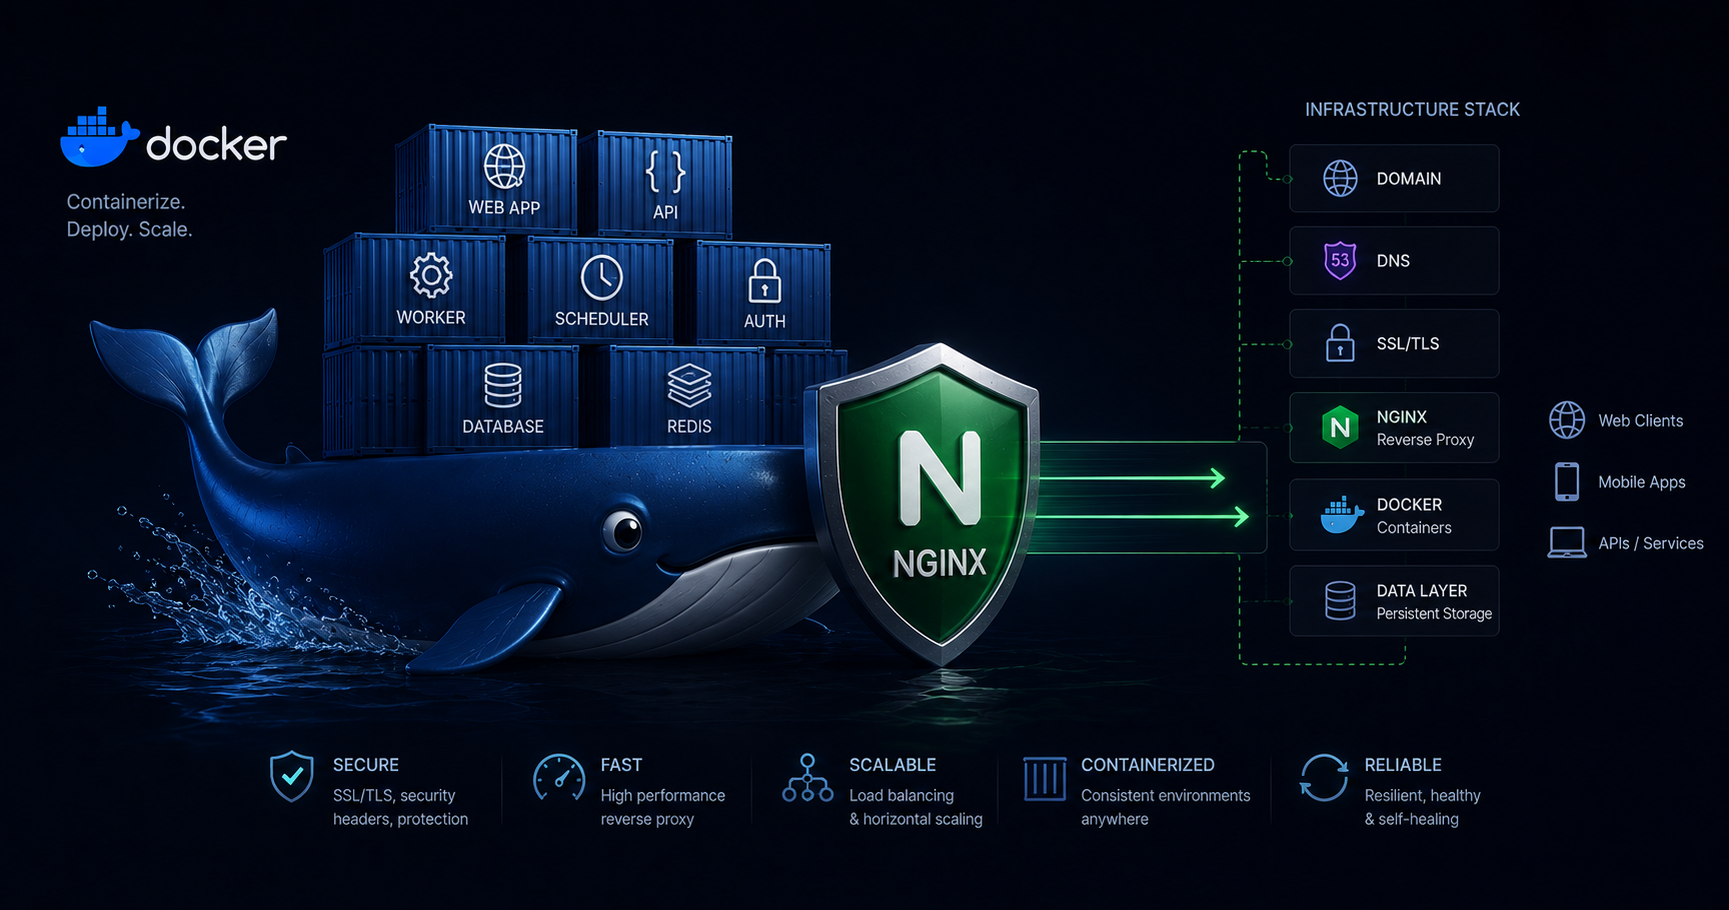
Docker + Nginx — The Infrastructure Layer
Part 3 of the Homelab Series — from CMD windows to containers, and one reverse proxy to rule them all.
The CMD Window Era
I ran things in CMD windows for over a month. A custom HTML homepage, dev tools, a notes app, MeshCentral, even an Nginx reverse proxy (I knew from work that I’d want subdomains from the start). Five or six services, all running in their own terminal windows.
And honestly? I found them useful. The homelab was working. I just didn’t have time to invest more into it.
Then one day, there were some electrical repairs at my house. The repair guy killed power to the room. The laptop ran on battery until it didn’t, and shut down. When I put it back on charge and restarted — blank desktop. Every service needed to be manually launched again.
I got it all running again, but it sat in the back of my mind: if this happens one more time, I’m probably giving up on the whole thing.
The Tipping Point
A couple of weeks later I finally found time to work on the server again. I wanted to add Kavita (ebook library) and n8n (workflow automation) — I started those in CMD too. But now I also wanted Memos, Linkwarden, and other services where the Windows installation process wasn’t straightforward at all. The Docker setup for those was just a docker-compose.yml, while the native Windows install involved building from source, managing Go/Node versions, or running sketchy installer scripts.
Between that, the fragility of CMD windows, and knowing what Docker could do from my day job as a software engineer — I put the laziness aside and set up Docker properly.
I explored Windows Services and startup scripts first. Everything felt brittle. Docker was the obvious answer; I’d just been avoiding the upfront effort.
WSL2 + Docker Desktop
The answer was Docker — specifically, Docker Desktop with the WSL2 backend on Windows 11.
Installation is almost embarrassingly simple:
- Enable WSL2 (it’s a Windows feature now)
- Install Docker Desktop
- Check “Use the WSL 2 based engine” in settings
That’s it. You now have a Linux environment running containers on Windows, with proper resource isolation.
I allocate 10GB RAM to WSL and leave 6GB for Windows itself. The laptop has 16GB total — plenty for a dozen lightweight services.
Docker Compose: The Pattern
Every service in my homelab follows the same template:
1
2
3
4
5
6
7
8
9
10
11
12
13
14
15
16
17
18
19
20
21
name: memos

services:
  memos:
    image: neosmemo/memos:stable
    container_name: memos
    restart: unless-stopped
    expose:
      - "5230"
    volumes:
      - memos-data:/var/opt/memos
    networks:
      - homeserver

volumes:
  memos-data:

networks:
  homeserver:
    external: true
    name: homeserver
A few things to notice:
exposeinstead ofports— the container is only reachable within the Docker network, not from the host. The reverse proxy handles external access.restart: unless-stopped— survives reboots, Docker restarts, crashes. The thing that CMD windows could never do.- Named volumes — data persists even if you recreate the container.
- External network
homeserver— every service joins the same network, so they can find each other by container name.
The shared network is created once:
1
docker network create homeserver
After that, any container on this network can reach any other container by name. memos can talk to ollama. The reverse proxy can reach everything. No IP addresses, no port mapping gymnastics.
The Reverse Proxy: One Entry Point
I already had Nginx running in the CMD era — from work experience, I knew I’d want clean subdomains rather than remembering port numbers. So the reverse proxy pattern wasn’t new; it just needed to move into Docker along with everything else.
With Docker handling individual services, the architecture became cleaner. Every service sits on a shared Docker network, and Nginx routes by subdomain:
How It Works
1
Internet → Cloudflare Tunnel → reverse-proxy:8000 → service containers
Cloudflare sends traffic to the cloudflared container, which forwards it to my Nginx container on port 8000. Nginx looks at the Host header (the subdomain) and routes to the right service.
The Docker Compose
The reverse proxy and Cloudflare tunnel live in the same compose file:
1
2
3
4
5
6
7
8
9
10
11
12
13
14
15
16
17
18
19
20
21
22
23
24
25
26
name: reverse-proxy

services:
  reverse-proxy:
    build: .
    container_name: reverse-proxy
    restart: always
    expose:
      - "8000"
    networks:
      - homeserver

  cloudflared:
    image: cloudflare/cloudflared:latest
    container_name: cloudflared
    restart: always
    command: tunnel run
    environment:
      - TUNNEL_TOKEN=${CLOUDFLARE_TUNNEL_TOKEN}
    networks:
      - homeserver

networks:
  homeserver:
    external: true
    name: homeserver
The Nginx image is custom-built to include the config and snippets:
1
2
3
4
5
FROM nginx:alpine
RUN rm /etc/nginx/conf.d/default.conf
COPY nginx.conf /etc/nginx/nginx.conf
COPY snippets/ /etc/nginx/snippets/
EXPOSE 8000
Nginx Config: The Actual Setup
Each service gets a server block. Here’s what one looks like:
1
2
3
4
5
6
7
8
9
10
11
12
13
server {
    listen 8000;
    server_name homebooks.yourdomain.com;

    client_max_body_size 100M;

    location / {
        include /etc/nginx/snippets/cors.conf;
        proxy_pass http://kavita:5000;
        include /etc/nginx/snippets/proxy_params.conf;
        include /etc/nginx/snippets/websocket.conf;
    }
}
Notice: proxy_pass http://kavita:5000 — that’s the container name and internal port. Docker DNS resolves it automatically because they’re on the same homeserver network.
Reusable Snippets
Instead of repeating the same headers in every block, I extract them into snippets:
proxy_params.conf — standard reverse proxy headers:
1
2
3
4
5
proxy_http_version 1.1;
proxy_set_header Host $host;
proxy_set_header X-Real-IP $remote_addr;
proxy_set_header X-Forwarded-For $proxy_add_x_forwarded_for;
proxy_set_header X-Forwarded-Proto $scheme;
websocket.conf — for services that need persistent connections (Kavita, n8n, Home Assistant):
1
2
3
4
proxy_set_header Upgrade $http_upgrade;
proxy_set_header Connection "upgrade";
proxy_read_timeout 3600;
proxy_send_timeout 3600;
A Few Gotchas
Docker DNS resolution — Nginx caches DNS at startup. If a container restarts and gets a new IP, Nginx will send traffic to the old one. Fix:
1
resolver 127.0.0.11 valid=10s;
This tells Nginx to use Docker’s internal DNS and refresh every 10 seconds.
Port in redirects — since Nginx listens on 8000 (not 80/443), it sometimes appends :8000 to redirect URLs. Cloudflare handles SSL termination, so the browser never sees port 8000. Fix:
1
2
port_in_redirect off;
absolute_redirect off;
Upload limits — the default Nginx body size is 1MB. PDF tools, Git pushes, and ebook uploads all need more:
1
client_max_body_size 100M;
Adding a New Service
Here’s the thing I didn’t expect: once the patterns were established — the Docker Compose template, the shared network, the Nginx server block, the Cloudflare hostname — adding a new service became almost trivial.
- Write a
docker-compose.ymlfollowing the pattern (expose port, joinhomeservernetwork) - Add a
serverblock tonginx.confwith the subdomain → container mapping docker compose up -dfor the service, rebuild the reverse proxy
Five minutes, start to finish. In fact, the patterns are so consistent that AI tools like Claude can generate a working setup from a single prompt if you show them one existing service as reference. The infrastructure becomes a solved problem — you just think about what to host, not how.
Before and After
Before (CMD windows):
- Services worked, but died whenever power was lost or machine restarted
- Manual restart every time — and the fear of “one more outage and I quit”
- New services limited to what installs cleanly on Windows
After (Docker + Nginx):
- Everything auto-starts and self-heals
- Clean URLs:
homebooks.yourdomain.com,homeai.yourdomain.com - Services isolated but connected via shared network
- Any service with a Docker image is 5 minutes from running
What’s Next
The infrastructure is solid — containers restart themselves, traffic routes cleanly, and everything is accessible from anywhere. But there’s still the physical problem: this laptop has no screen. Every time I need to change a Windows setting or debug something at the OS level, I’m carrying the laptop to a monitor. Next up: MeshCentral — full remote desktop access to a headless laptop, entirely self-hosted.
All the code and configurations for my home server are open source: github.com/mavsankar/homeserver