MeshCentral — Remote Access to a Screenless Laptop
Part 4 of the Homelab Series — full remote management without a monitor.
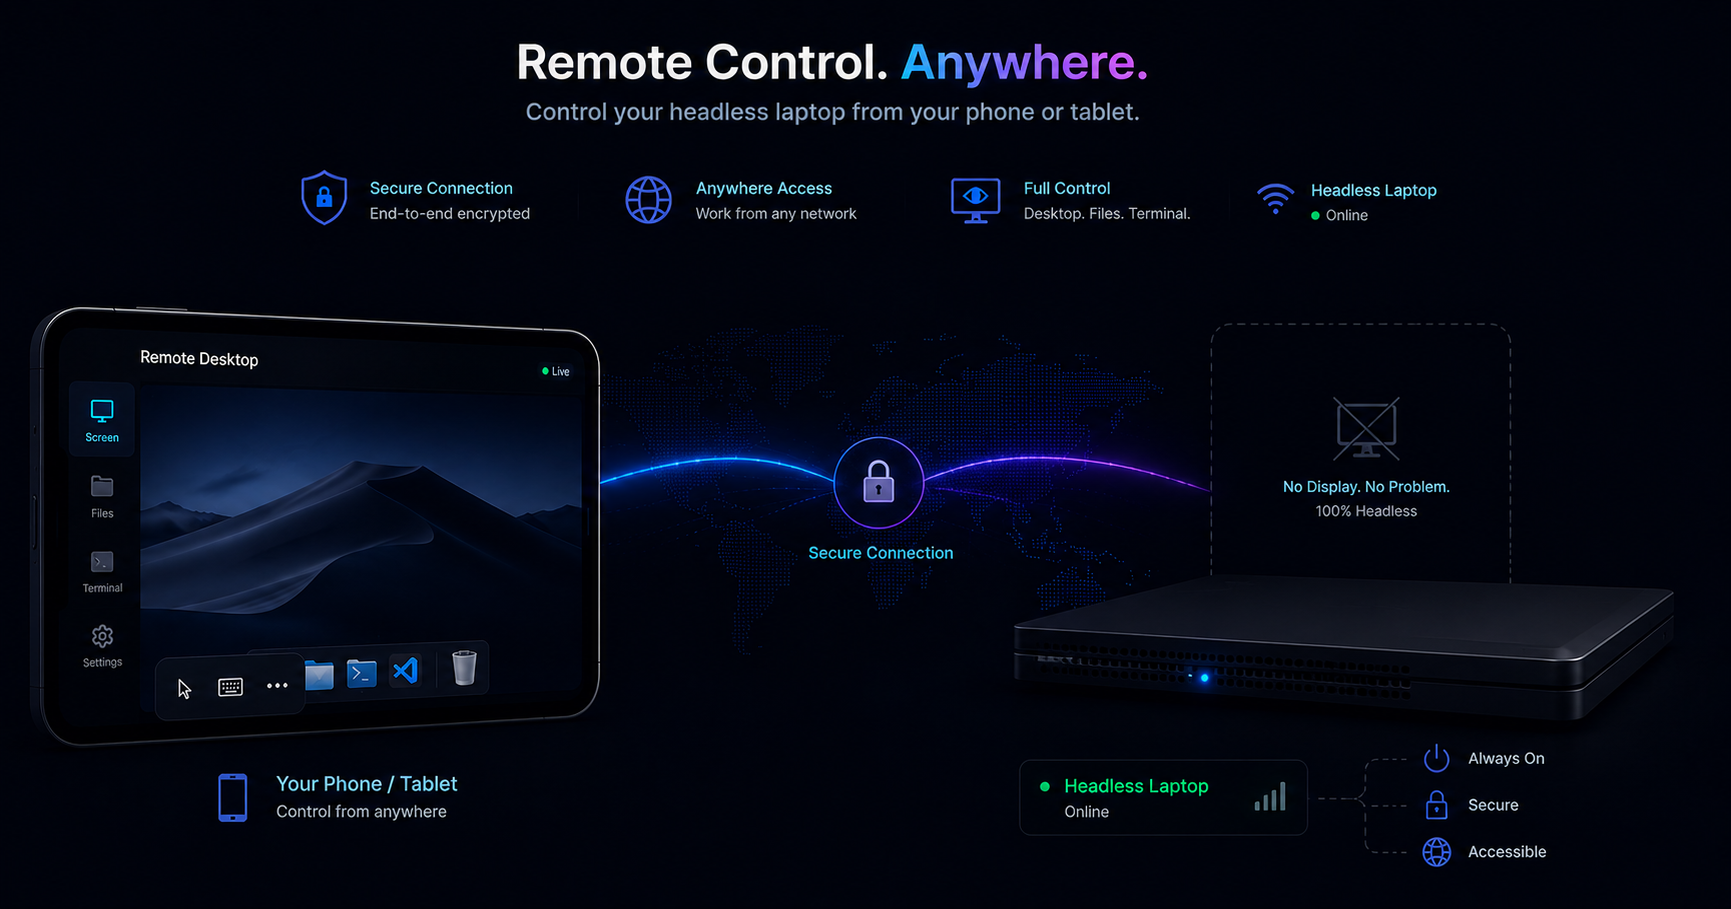
The Monitor Shuffle
With Cloudflare Tunnels set up, my services were accessible from anywhere. But the server itself wasn’t. Every time I needed to install something new, change a Windows setting, or debug a Docker issue, I had to:
- Unplug the laptop from behind the router
- Carry it to my desk
- Plug in a monitor
- Do the thing
- Unplug, carry back, reconnect ethernet and power
This got old fast. I needed a way to remotely access the full desktop — not just SSH, but the actual screen, file system, and terminal.
Why Not TeamViewer / AnyDesk?
I tried both. They work, but they feel like support software — designed for helping someone else’s computer, not for managing a server. Session limits, nag screens, requires login to their cloud, and the free tier is always one update away from being restricted.
I wanted something self-hosted, no limits, no middleman. I found MeshCentral on the awesome-selfhosted list.
What is MeshCentral?
MeshCentral is a full remote device management platform — think TeamViewer meets a lightweight MDM, but entirely self-hosted. It gives you:
- Remote Desktop — full screen access, works even without a physical display
- Terminal — command prompt / PowerShell directly in the browser
- File Transfer — drag and drop files to/from the remote machine
- MFA — two-factor authentication for the management console
- Multi-node — manage multiple devices from one dashboard
It runs as a Node.js application and has its own web server with HTTPS.
Setting It Up
I won’t repeat what’s already well-documented. The MeshCentral team has an excellent YouTube playlist that walks through everything:
📺 MeshCentral Installation & Setup Playlist
The short version for my setup:
- Install via Node.js —
npm install meshcentralthennode ./node_modules/meshcentral - Create admin account — first-run wizard on
https://localhost:4343 - Install the agent — on the same machine (it’s both server and managed device)
- Expose via Cloudflare Tunnel — this is the only part specific to my setup
MeshCentral can run in Docker too, and there’s no reason not to containerize the server. But the agent that gives you remote desktop access has to run natively on Windows — it needs direct access to the display, input devices, and OS-level services. Since the agent is native anyway, I just kept the server native too. Will probably migrate the server to Docker at some point to keep it consistent with everything else.
Exposing via Reverse Proxy
MeshCentral runs natively on Windows (not in Docker), so the reverse proxy reaches it via host.docker.internal:
1
2
3
4
5
6
7
8
9
10
11
12
server {
    listen 8000;
    server_name rmm.yourdomain.com;

    location / {
        proxy_pass https://host.docker.internal:4343;
        proxy_ssl_verify off;
        include /etc/nginx/snippets/proxy_params.conf;
        proxy_set_header X-Forwarded-Proto https;
        include /etc/nginx/snippets/websocket.conf;
    }
}
Key details:
proxy_pass https://— MeshCentral serves HTTPS, not HTTPproxy_ssl_verify off— self-signed cert, Cloudflare handles real SSL on the public side- WebSocket support is essential — remote desktop streams over WebSocket
The referenced snippets:
1
2
3
4
5
6
# /etc/nginx/snippets/proxy_params.conf
proxy_http_version 1.1;
proxy_set_header Host $host;
proxy_set_header X-Real-IP $remote_addr;
proxy_set_header X-Forwarded-For $proxy_add_x_forwarded_for;
proxy_set_header X-Forwarded-Proto $scheme;
1
2
3
4
5
# /etc/nginx/snippets/websocket.conf
proxy_set_header Upgrade $http_upgrade;
proxy_set_header Connection "upgrade";
proxy_read_timeout 3600;
proxy_send_timeout 3600;
Add the hostname to your Cloudflare tunnel, and you’re done.
What I Use It For
- Remote desktop — full Windows access from any browser or phone, even without a physical screen
- Terminal — PowerShell directly in the browser
- File transfer — drag and drop
- Rebooting the server and watching it come back up
Tips
- Set Windows to not sleep — Power settings → Never sleep when plugged in
- Auto-login — Configure Windows to boot straight to desktop (no login screen). MeshCentral and Docker Desktop need the session active.
- Backup codes — MeshCentral supports MFA. Enable it, but keep backup codes safe. Losing access to your MeshCentral means losing access to your server.
What’s Next
With MeshCentral, I could finally manage the server from anywhere without plugging in a monitor. But deploying changes still meant remoting in and running commands manually. What if I could just git push and have the server update itself?
Next up: Gitea + CI/CD — self-hosted Git with automated deployments, so I never have to SSH in to deploy again.
All the code and configurations for my home server are open source: github.com/mavsankar/homeserver